Learn how to generate massive amounts of test data in your FileMaker app by leveraging new FileMaker 19 features that allow you to interact directly with JavaScript.
Part of good app development is testing with conditions that are similar to the environment you can expect your app to eventually operate in. One of those conditions is the amount of data your app is working with. It’s a not infrequent occurrence that someone comes to us with a system that worked well with a few records but has grown slow and cumbersome as more data is entered. That’s why we develop with test data in the system so that we can easily spot situations where a technique used is not performant enough for production. This is great when we have an existing set of data to use but there are plenty of times where we’re tasked with an entirely new system concept that might not have years and years of data to work with. At that point, we need to generate on our own data. With the release of FileMaker 19, this task becomes much easier.
Generating the Test Data
This problem is not a new or unique development problem and we luckily have access to robust libraries whose sole purpose is to generate fake data for testing purposes. The library we’ll be working with today is called faker.js. This library exposes a wealth of different methods for generating various types of fake data. It ranges from contact names, company names, dates, currency amounts, internet domains, lorem ipsum text, phone numbers, file names and more.
Setting Our File Up
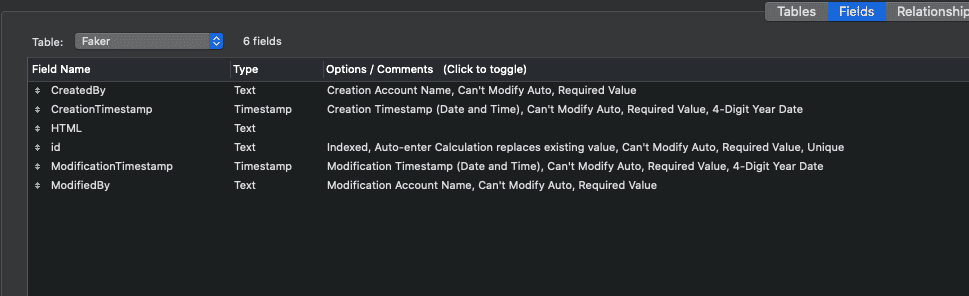
To kick this off, I’m going to setup a new table in my FileMaker app named Faker. This will be a single record table with a sole purpose of storing the code we use to generate fake data.
The JavaScript
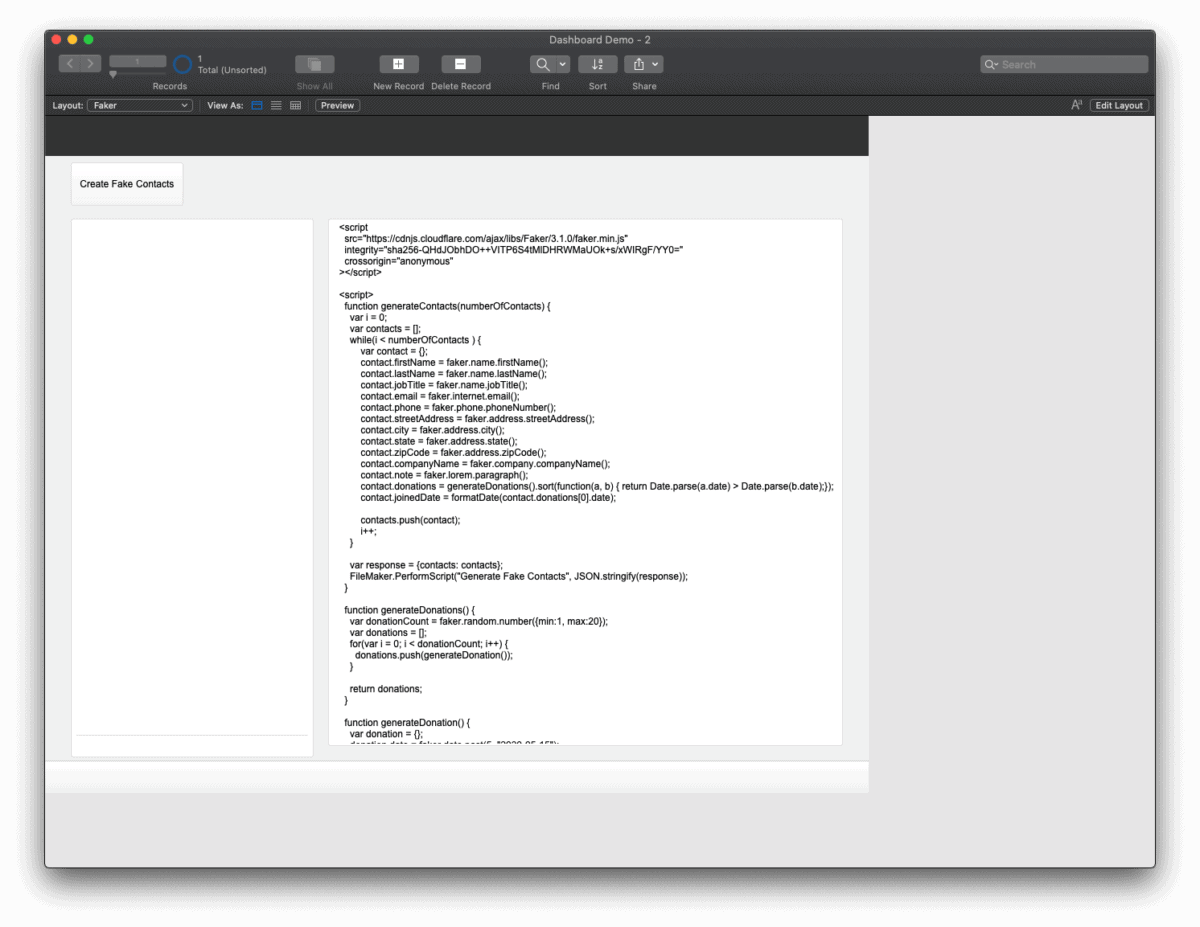
Next, we need to write a little bit of JavaScript to actually generate our fake data. In this example, our goal is generate a number of contacts with each contact having a number of donations associated with them. We’ll end up with something that looks like this –

A couple of notes here –
- FileMaker’s interaction with JavaScript happens through the web viewer which is a web portal that we can inject our own html into. With that in mind, we’re wrapping all of our JS code in <script> tags so that the web viewer can properly interpret and render it.
- The first script tag is loading the faker.js library from a CDN. You may consider downloading a minified version of the library and encapsulating in a script tag to improve performance and reduce reliance on outside resources.
- The fake data we’re generating here is very specific to this system and that will basically always be the case. Check out the faker.js docs for more fake data options.
Back to FileMaker
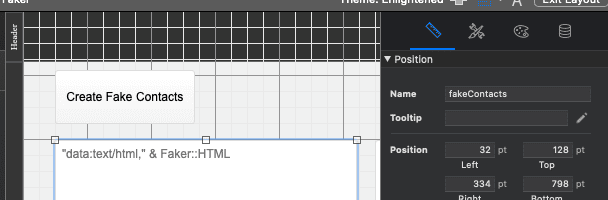
Now that we’ve got our JS code all set, we’re going to take it and place it in the HTML field of the single record Faker table. We’re also going to navigate to the Faker layout and create a web viewer. FileMaker’s functionality to perform JS code requires the JS to be loaded into a web viewer object. Our setup will look something like this:

A few important points for all of this to work:
- Note the prefix “data:text/html,”. This is a required prefix for FileMaker to render and interpret our HTML/JS.
- It’s also important to note that we’ve named this web viewer object:
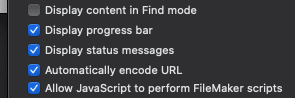
- In the web viewer settings (accessible by double clicking in layout mode), we need to enable our JavaScript to call FileMaker scripts:
In browse mode, we’ll have something like this:
The Scripts
We’ll need a few scripts to actually run the library to generate the fake data as well as process it. The first one will navigate us to the Faker layout where the web viewer resides and run the fakeContacts JavaScript function. In order to run that JS function, we’ll be using the new in FileMaker 19 script step, “Perform JavaScript in Web Viewer”. This script step takes a web viewer object name, a JavaScript function name and any parameters you want to pass along. In our case, the call looks like this:

When this JS function is called, it will generate a number of fake contacts (based on the variable, $numberOfContacts, we send as a parameter), package them into an array, and then call a FileMaker script to actually process the data. We do that by leveraging the new to FileMaker 19 function FileMaker.PerformScript. This is a JavaScript function that is injected and, therefore, available to us when in the context of the FileMaker web viewer object. That looks something like this (from our JS code):

When this line is executed, the JavaScript code will call the FileMaker script “Generate Fake Contacts” and pass along our response variable as a parameter. From there, our Generate Fake Contacts script can process that response and create FileMaker records with that fake data.
And that’s it! We’ve included a demo file so that you can see this in action. Login with admin and no password and dig in! Let us know if you have any questions in the comments below ????
